
Railway Signals
Signals are used to split the track network in smaller parts so that more than one vehicle can be driving around safely. Like in reality, there are semaphore signals until 1950 and light signals after 1950.
Semaphore signals have the same functionality as light signals. An upwards pivoted arm is analogue to a green light, a horizontal arm is analogue to a red light.
Basic Functionality
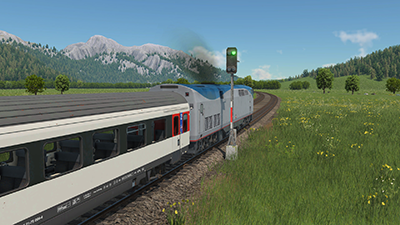
1

2
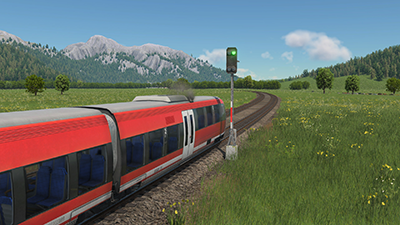
3
Whenever a train passes a signal 1, it turns red and stays red as long as there is a train in the area behind the signal 2. Other trains following the first train have to wait at the signal until the first train leaves the area - called block - behind the signal. As soon as the block is empty, the second train can continue and pass the signal 3.
Path Signal Functionality

4
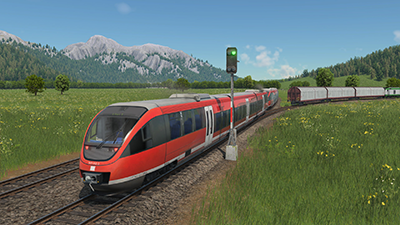
5

6
All signals in Transport Fever 2 are path signals. As long as the area behind it is free, any train can pass the signal 4 and it turns red. In contrast to strict block signals, a path signal is a signal that turns green already if only the path to the next signal or stop on the route of the requesting train is free and can be reserved for the approaching train 5. Thus it depends on the train and its route which area has to be clear of other trains 6.
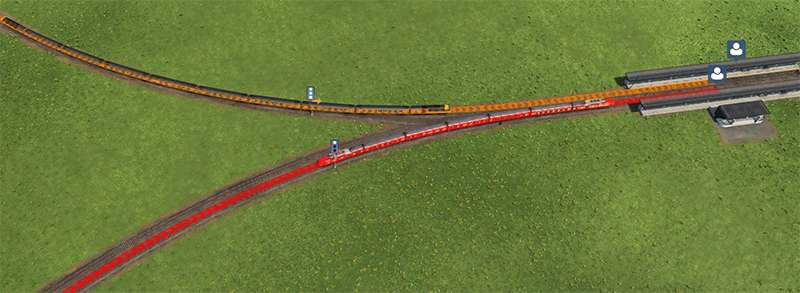
7
The example in picture 7 shows a situation in which both trains enter the station at the same time. They are allowed to do so despite the track crossover, because their paths do not overlap. Strict block signals would have allowed only one train to proceed, as the block covers both tracks into the station due to the crossover.

8

9
When paths overlap, it is important, to leave enough clearance after switches or crossings. In picture 8, the train on the pink line waiting at a signal for a free path ahead blocks the train on the blue line. In compact track layouts this could lead to a deadlock situation when the blue train is the one in the way of the pink train.
Moving the signal away from the switch will allow the pink train to stop without blocking the crossing. Make sure to leave enough space for the full length of the longest train 9.
A path ends at the next signal, tram lane, or reversal stop on the route of the train – whatever comes first.
One-Way Signal Functionality
10

12
11
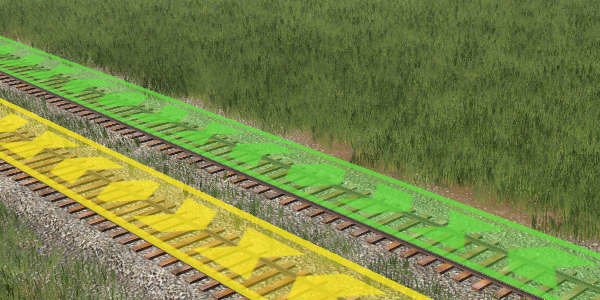
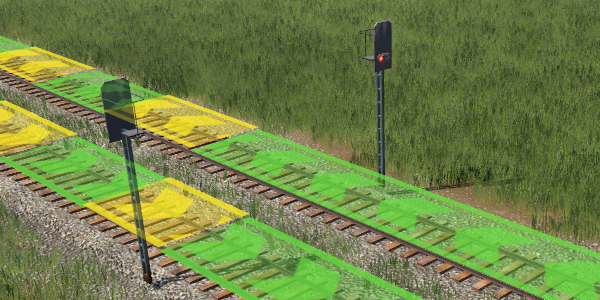
Signals facing away from the direction of travel are ignored. So it is possible that routes stick to one track even if there are more tracks 10. If there are signals that are declared as one-way signals they can't be passed from the backside. This can be used for example to force trains to use righthand traffic 11 or lefthand traffic 12 depending on the side where the signals are built. To restrict a signal to one-way, open the signal’s detail window by selecting the signal and choosing YES in the One-way drop-down.
Configuration Examples
Below are some examples on how signaling works. The blue and red arrows show the path of the train from the current position to the end of the path. When the path is completely blue, it is reserved for the train, when there is a yellow section, the path is blocked by another train or reservation.
Single Track Configuration
In the example below the train leaving the station on the left reserves the whole path up to the end of the terminal station because there are no signals in between.

The path ahead stays reserved while the train is on route. The tracks behind the train are not reserved anymore.

Passing Siding Configuration
When a second train is added to this configuration, both get stuck in the station. Despite the passing siding, they try to reserve the path to the next reversal stop or signal on the way. As there are no signals in the passing siding section, the path covers all the way through to the end of the other station. The second train blocks this part of the path so it can't be reserved. Same problem exists for this second train so both trains block each other. This problem is called a deadlock.

When signals are added on each end of the passing sidings, the reserved paths will no longer overlap and the trains can depart.

The pieces of track behind the trains is not reserved anymore as soon as the trains passed.

As soon as they arrive in the sidings section, the way to the stations is free. They reserve the rest of the path and travel along.

The sidings area is already left behind and could be used by another train now.

Note that stations do not automatically act as signals (even if the station is configured as a stop in the train's line).
Double Track Configuration
By extending the siding section to a double track route with several blocks, the capacity of the route can be increased.

A further increase is possible by routing trains to different platforms at the outer stations and adding more platforms in the middle station.

Tram-Train Transition
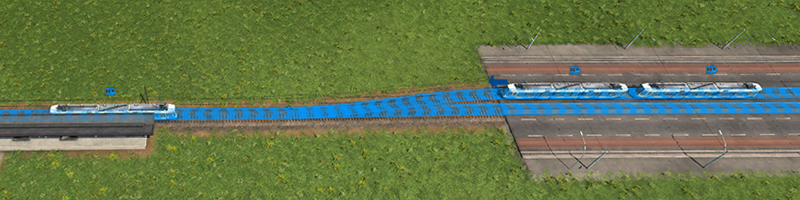
Tram vehicles marked with Light Rail can cross over between tracks and tram lanes on roads. This behaves similar to a double track configuration. Road lanes are always uni-directional and do not use reservation at all, so you can omit the signals entirely.
Train Priority
By default, trains only attempt to reserve more tracks if they would need to brake otherwise. In the following example, this leads to a slow regional trains squeezing in front of an express route.

To handle this, you can increase the line's priority in the the line window:

This will make express line reserve additional tracks ahead of time.
